Growing garlic organically is one of the most satisfying experiences in the garden — a single clove planted in fall transforms into a full bulb of intensely flavored heads by midsummer. Organic garlic isn't just tastier than what you'll find in stores (most supermarket garlic is imported, irradiated, and treated with sprout inhibitors); it's also a powerhouse of allicin, the compound responsible for garlic's legendary health benefits.
Whether you're growing culinary garlic for the kitchen, hardneck varieties for their prized scapes, or elephant garlic for roasting, this guide covers everything you need to produce exceptional organic garlic from planting through curing.
Choosing the Right Garlic Varieties
Hardneck vs. Softneck
Hardneck garlic produces a central flower stalk (scape) and typically has 4–12 large, easy-to-peel cloves per bulb. It's the best choice for cold climates (zones 3–7) and serious garlic lovers — the flavor complexity is unmatched. However, it stores for only 4–6 months.
Softneck garlic doesn't produce scapes, has more cloves per bulb (12–20+), and stores for up to 9–12 months. It's the best choice for mild climates (zones 7–10) and for braiding. Flavor is generally milder than hardneck.
Best Varieties for Organic Growing
- Music (Porcelain hardneck) — Large, robust bulbs with 4–6 massive cloves. Exceptional flavor, excellent disease resistance, cold-hardy to zone 3
- German Extra Hardy (Porcelain) — Reliably huge bulbs, intensely flavored, thrives in cold climates
- Chesnok Red (Purple Stripe) — The gold standard for roasting, sweet and complex when cooked
- Spanish Roja (Rocambole) — Rich, spicy-hot raw, outstanding in salsas and marinades
- Inchelium Red (Softneck) — Award-winning flavor at the Rodale Institute taste test, great storage
- Silver White (Softneck) — Reliable softneck for mild climates, long storage life
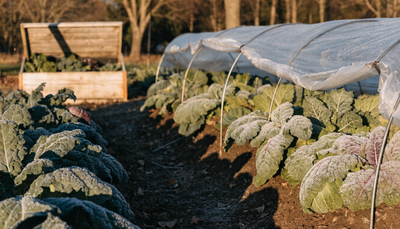
Soil Preparation for Organic Garlic
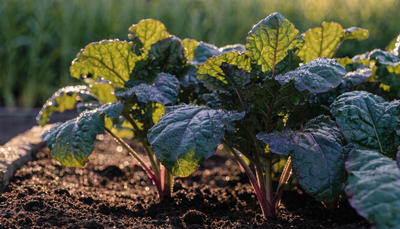
Garlic spends 8–9 months in the ground, so soil preparation pays enormous dividends. It needs well-draining, fertile soil with excellent biological activity to fuel the long growing season.
Ideal Soil Conditions
- pH: 6.0–7.0 (neutral to slightly acidic)
- Texture: Loose, well-draining — garlic bulbs rot in waterlogged soil
- Organic matter: 5%+ — amend generously with quality compost
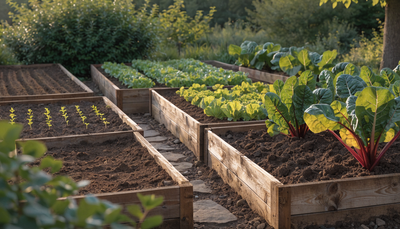
- Drainage: Critical — raised beds are ideal in heavy clay soils
Building Living Soil for Garlic
Garlic forms strong partnerships with beneficial soil microorganisms, particularly mycorrhizal fungi that extend the root system's nutrient-gathering network. Since garlic has a relatively sparse root system, these microbial partnerships are especially important.
Before planting:
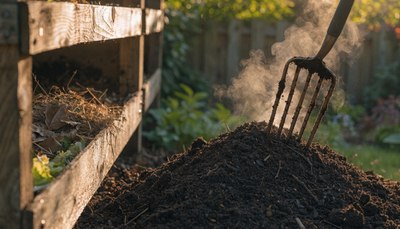
- Add 3–4 inches of quality compost and work it into the top 8 inches of soil
- Apply a full-spectrum microbial inoculant to the planting furrow — the mycorrhizal fungi will colonize garlic roots within days and dramatically improve nutrient uptake throughout the long growing season
- Test and adjust pH — garlic is sensitive to acidic conditions below 5.5
- Ensure excellent drainage — build raised beds if needed
Planting Garlic: Timing and Technique
When to Plant
Garlic is planted in fall — this is non-negotiable for the best results. Cloves need 6–8 weeks of cool weather to establish roots before the ground freezes, then a period of cold vernalization (temperatures below 40°F for 40+ days) to trigger proper bulb formation in spring.
- Northern climates (zones 3–6): Plant mid-September through late October
- Southern climates (zones 7–9): Plant mid-October through November, after nights cool below 50°F
- Rule of thumb: Plant 4–6 weeks before your ground typically freezes
Planting Technique
- Break bulbs into individual cloves no more than 48 hours before planting (earlier dries out the basal plate)
- Select the largest, healthiest cloves — bigger cloves produce bigger bulbs
- Plant pointed end up, 2–3 inches deep, 6–8 inches apart
- Mulch heavily — 4–6 inches of straw or shredded leaves insulates against winter cold and suppresses spring weeds
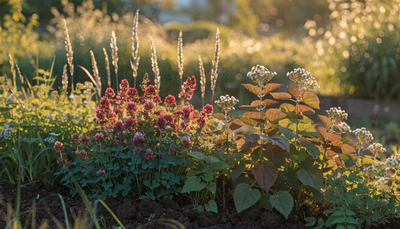
Companion Planting
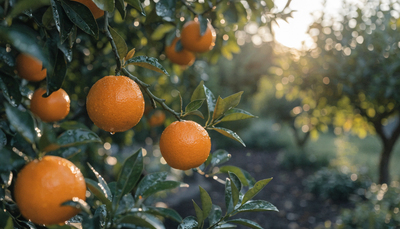
- Fruit trees — Garlic planted around fruit tree bases deters borers and aphids
- Roses — Classic companion, garlic repels aphids and may reduce black spot
- Lettuce and spinach — Grow between garlic rows in spring before garlic needs the space
- Avoid planting near: Beans and peas (garlic inhibits their growth)
Organic Fertilizing Schedule for Garlic
Garlic has two distinct growth phases with very different nutritional needs — get this right and you'll grow bulbs twice the size of an unfed crop.
Fall (At Planting)
Work in generous compost and apply microbial inoculant to the planting furrow. No additional fertilizer is needed until spring — the focus now is root establishment.
Early Spring (Green Growth Phase)
When green shoots emerge in spring, garlic needs nitrogen for vigorous leaf growth. Each leaf corresponds to one bulb wrapper — more healthy leaves means a better-protected, longer-storing bulb. Apply an organic vegetative plant food every 2–3 weeks from emergence until scapes appear (hardneck) or mid-May (softneck).
Bulbing Phase (Late Spring–Early Summer)
Once garlic stops producing new leaves and begins bulbing (typically when it has 8–10 leaves), stop nitrogen applications and switch to phosphorus and potassium. Apply an organic bloom fertilizer to support bulb sizing, plus organic bloom booster for maximum bulb weight.
Throughout the Season
- Seaweed extract: Organic kelp fertilizer applied as a foliar spray in spring provides natural growth hormones, potassium, and trace minerals that strengthen garlic plants and improve disease resistance
- Calcium: Chitin-based organic calcium applied in spring improves clove firmness and storage quality while activating natural pest resistance pathways
- Stop all fertilizing 3–4 weeks before harvest — this allows bulbs to cure properly
Organic Pest and Disease Control for Garlic
Common Garlic Pests
Onion Thrips
- Tiny insects that create silvery streaks on leaves, reducing bulb size
- Encourage beneficial predators (minute pirate bugs, lacewings)
- Spray neem oil or insecticidal soap for heavy infestations
Garlic Bloat Nematode
- Swollen, distorted stems, rotting cloves — devastating once established
- Prevention: Plant only certified disease-free seed garlic, practice 4+ year crop rotation
- Hot water treatment: Soak cloves in 130°F water for 20 minutes before planting to kill nematodes
Allium Leaf Miner
- Rows of puncture marks on leaves, larvae mine inside leaves and bulbs
- Cover with insect netting during the two flight periods (spring and fall)
Common Diseases
White Rot (Sclerotium cepivorum)
- The most feared garlic disease — white fluffy fungal growth at the base, yellowing leaves, plant collapse
- Prevention: Never plant alliums in the same bed more than once every 4–5 years, use clean seed stock
- Treatment: No cure — remove and destroy infected plants, do not compost
Fusarium Basal Rot
- Rotting at the base plate, yellow/dying leaves from the bottom up
- Prevention: Well-drained soil, avoid damage to clove base plates when separating, healthy soil biology
Rust
- Orange-brown pustules on leaves
- Prevention: Good air circulation, avoid overhead watering, choose resistant varieties
- Treatment: Copper-based organic fungicide at first sign
Harvesting and Curing Garlic
When to Harvest
Timing garlic harvest is an art. Harvest too early and bulbs are small; too late and bulb wrappers deteriorate, reducing storage life. Look for these signs:
- Bottom 3–4 leaves have turned brown while top 4–5 remain green
- Scapes (hardneck) have straightened and started to dry
- Test dig: Carefully unearth one bulb — cloves should be plump and well-defined, with intact wrappers
Harvesting Technique
Never pull garlic straight out — loosen soil with a garden fork first, then gently lift bulbs. Damaged bulbs won't store well.
Curing
Proper curing is essential for long storage:
- Dry in a warm, airy, shaded location — never in direct sun (sunscald ruins flavor)
- Hang in bunches or spread on screens for 2–4 weeks
- Curing is complete when wrappers are papery, necks are dry, and cloves crack apart easily
- Trim roots and stalks (or braid softneck varieties)
Storage
- Ideal conditions: 50–60°F, 60% humidity, good air circulation
- Hardneck: Stores 4–6 months
- Softneck: Stores 9–12 months
- Save your biggest, best bulbs as seed stock for next year's planting
Frequently Asked Questions
When should I plant garlic?
Plant garlic in fall, 4–6 weeks before the ground freezes. In northern climates this means mid-September through late October; in southern climates, mid-October through November. Fall planting allows root establishment and the cold vernalization period garlic needs for proper bulb formation.
Can I plant garlic from the grocery store?
It's not recommended. Most grocery store garlic is softneck varieties treated with sprout inhibitors and may carry diseases. It may also be poorly adapted to your climate. Purchase certified disease-free seed garlic from reputable suppliers for the best results — the investment pays for itself many times over.
Should I remove garlic scapes?
Yes — removing scapes on hardneck garlic when they've made one full curl redirects the plant's energy into bulb sizing. This can increase bulb size by 20–30%. Bonus: scapes are delicious! Use them in pesto, stir-fries, or grilled like asparagus.
How long does garlic take to grow?
Garlic takes about 8–9 months from fall planting to summer harvest. Plant individual cloves in October–November, and harvest the following June–July when the lower leaves have browned. The long growing season is why soil preparation and a proper organic feeding program make such a dramatic difference.
What causes small garlic bulbs?
Undersized garlic bulbs are usually caused by: planting small cloves (always plant the largest), insufficient vernalization (not enough cold), poor soil fertility, crowding, weed competition, or stopping watering too early. A proper organic feeding program with vegetative food in spring, bloom fertilizer during bulbing, and consistent soil biology support produces significantly larger bulbs.